
My acrylics were lifting, snagging my sweaters, and I wanted them gone right now. If you need to remove acrylics at home too, here’s the fast version.
File off the shiny top coat. Rub petroleum jelly on the skin around your nails. Soak cotton in 100% acetone, place it on each nail, and wrap with foil for 10 to 15 minutes. Gently push off the softened acrylic. Repeat if needed.
I know it’s tempting to peel them off. I tried once. It hurt, and my nails felt thin for weeks. Never pry, pull, or bite acrylics off. Slow and gentle wins.
This guide shows you how to remove acrylic nails at home without wrecking your natural nails, step by step. Thick sets can take longer, sometimes up to an hour. Work in a well-ventilated room, and keep acetone away from flames and heat. Let’s get those acrylics off safely.
Gathering Your Supplies (And Crucial Safety Warnings)
I learned this the hard way: the bottle labeled “nail polish remover” in my bathroom did almost nothing to my acrylics. It left them gummy and stuck.
Here is what I use now:
- 100% pure acetone
- A coarse nail file (100 grit or lower)
- Cotton balls and aluminum foil
- Petroleum jelly or cuticle oil
- A wooden orange stick or cuticle pusher (no metal)
- A small glass bowl, if you plan to soak your fingertips
Why Pure Acetone Matters
Acetone strength is not the same from bottle to bottle. Safety data sheets list SuperNail Polish Remover at 80 to 85% acetone and Cutex Regular at 60 to 100%. Olive & June Acetone is listed at 100%. These sheets are brand-specific and can change, so check your label. Look for “100% pure acetone.”
Safety Warning
Acetone is highly flammable. Keep it away from flames, pilot lights, lit cigarettes, and hot styling tools. Work in a well-ventilated room. Keep it out of reach of children. Never microwave acetone or heat it directly.
In 2009, NAILS Magazine reported that a bowl of acetone caught fire in an electric heating bowl. The client had second-degree burns over about 40% of her body. If you want warm acetone, set a small container inside a bowl of warm water. Let the water do the warming. The FDA’s nail care page also stresses good ventilation.
The 100% Acetone Method: Foil Wraps vs. The Bowl Soak
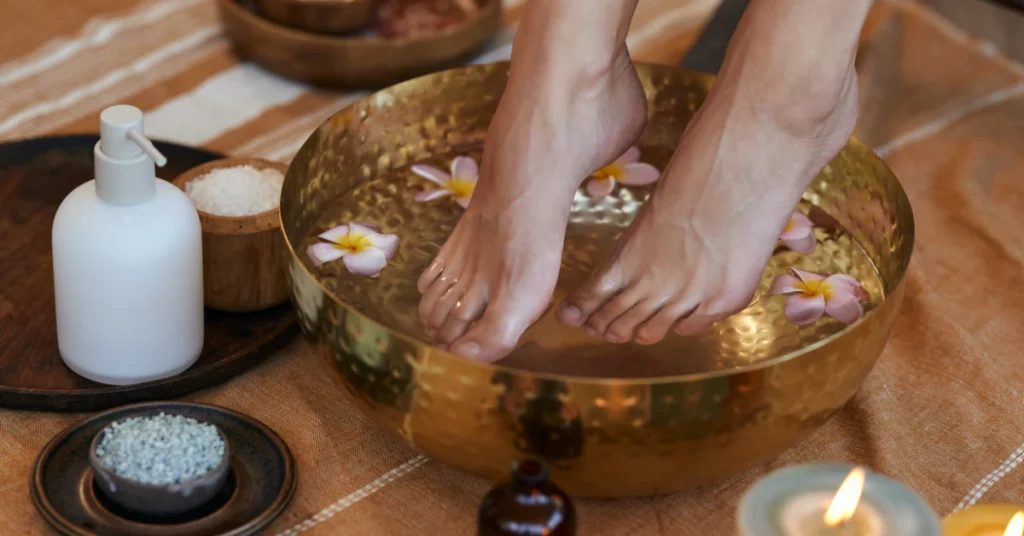
Two soak styles work, and experts don’t fully agree on which is better. Here is how I handle both.
Step 1: File Off the Shine
Use a coarse file, 100 grit or lower. File the top of each acrylic until the shine is gone. This helps the acetone sink in. Work through most of the acrylic, but stay off your natural nail. You can always file more, but you can’t undo too much.
Tip for next time: before your next set, paint a thin coat of regular polish on your natural nails. Later, when you see that color while filing, you will know to stop.
Step 2: Protect Your Skin
Rub petroleum jelly or cuticle oil on the skin around each nail. Acetone dries skin out fast.
Option A: Foil Wraps
Healthline and L’Oreal Paris both suggest this method. Soak a cotton ball until it drips. Place it on the nail and wrap your fingertip in foil.
Healthline says 10 to 15 minutes. L’Oreal Paris says about 20, with 5 to 10 more if needed. Then gently push the softened acrylic off with a wooden orange stick. Skip metal tools.
Option B: Bowl Soak
One manicurist told SELF that foil wraps don’t hold enough acetone to break down acrylics, and they add time. Her fix is a small bowl of acetone. Soak all five fingertips at once.
Use a glass bowl, and cover it with a towel to cut the fumes. Check every 5 to 10 minutes. When the acrylic bubbles and lifts, lightly scrape off what’s loose with a wooden orange stick. Then dip your fingers back in and repeat.
Want it warmer? Use the warm-water bath from the last section, never direct heat.
Which One Should You Pick?
Here is my personal take. I use foil wraps for thin or already lifting sets. I use the bowl soak for thick, stubborn ones. That’s my own recommendation, not a rule. Experts split on this, so go with what works for your set.
How Long Will It Really Take?
Longer than 20 minutes. Plan on up to an hour. I put on a show and settle in. Rushing leads to prying, and prying is what thins your nails.
If it hurts, stop and soak longer. If you feel unsure, a salon is a fine choice.
Acetone-Free Removal: Does It Really Work?
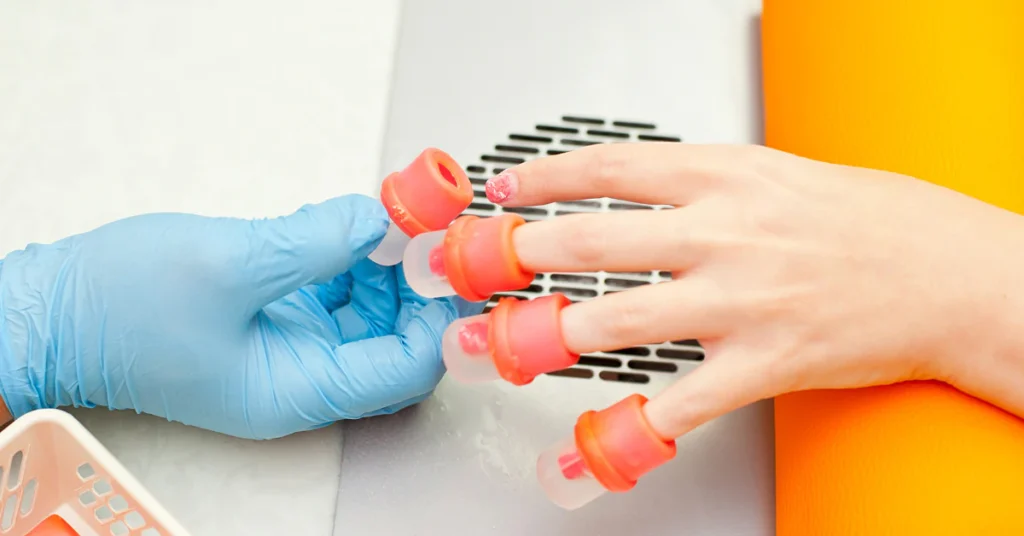
Acetone dried my skin so badly that my fingertips felt tight for days. So I get why you want another way. Let’s look at what actually works.
The Acetone-Free Soak
You can use an acetone-free nail polish remover instead. L’Oreal Paris suggests clipping the acrylics short, then gently lifting the edges with a cuticle stick. Next, pour the remover into a bowl deep enough to cover your fingertips. Soak for 30 to 40 minutes, or until the acrylics loosen.
A nail educator quoted by Yahoo agrees that skipping acetone means a longer removal. Plan for more time, and don’t give up too early. If you have to force anything, soak longer.
Hot Water and Oil: Not a Miracle
Some tips online make this sound like magic. It isn’t. Healthline says a mix of hot water and a little oil (20 to 30 minutes) only works if your acrylics are already lifting. For newer, tightly bonded sets, it’s much less effective. I also found no solid source that says plain soapy water can remove acrylics.
When I Skip Acetone
Here is my own take. If my nails are already loose and grown out, I try the acetone-free soak first. It saves my skin. If the set is fresh or thick, I don’t waste an afternoon. I use pure acetone, with petroleum jelly on my skin and a good hand cream afterward.
Acetone-free products vary by brand, so read your label for directions.
Dangerous Shortcuts to Avoid: Flossing, Prying, and Magic Removers
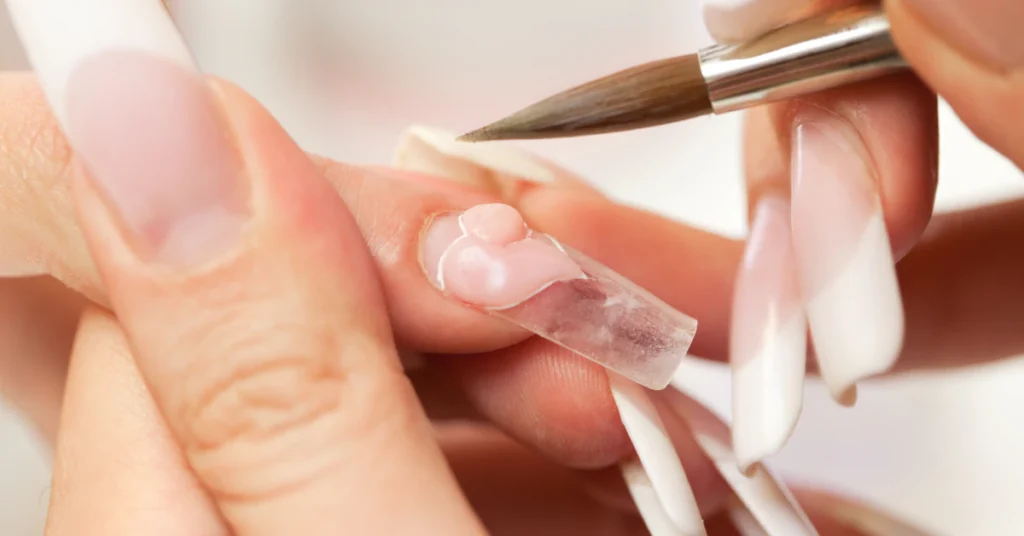
I get the temptation. You’re tired, the acrylics are loose, and one good tug seems like it would finish the job. Please don’t. These shortcuts cost me weeks of sore, thin nails.
Prying, Pulling, and Biting
Never pry, pull, or bite your acrylics off. Skip metal tools too. Prying can lift your nail plate off the nail bed, a problem called onycholysis. It can hurt, and it raises your risk of infection. Aggressive scraping or filing can also leave white spots, bumps, grooves, and thinner nails.
The Dental Floss Hack
You may have seen this one on TikTok. A dermatologist quoted by SELF warned against it. L’Oreal Paris says floss should only be used on acrylics that are grown out and already loose, and even then it can cause damage. I skip it. It’s not worth the risk.
Electric Files at Home
Pros use e-files all the time, but the experts SELF talked to all cautioned against using them at home. It’s easy to go too deep, thin your nail, or cut your cuticle. Stick with a regular coarse file.
“Magic” or “Burst” Removers
Watch out for removers sold as quick, “magic,” or “burst” fixes. The Nail Manufacturer Council on Safety warned in December 2025 that some contain methylene chloride. The council says this chemical is prohibited by the FDA and EPA. It linked it to cancer and serious poisonings.
These products are sold for gel polish, but some people grab them for acrylics too. Don’t. Buy removers from reputable suppliers, and choose a clearly labeled 100% pure acetone instead. The FDA nail care page also says to follow label directions and warnings.
Troubleshooting: Why Won’t They Come Off?
I once sat there for an hour with my fingers in acetone, and nothing happened. I felt like crying. If that’s you right now, take a breath. Here is what to check.
No Bubbling? Stop and Check the Smell
Acrylic usually starts to bubble and lift during a good soak. If you see no peeling at all, and you notice a sweet, pungent smell, your set may contain MMA. That’s a type of acrylic ingredient. A manicurist quoted by SELF says removing it can take hours and may not even be possible at home. Her advice: stop and see a professional nail tech.
This smell test comes from one expert, so treat it as a clue, not a lab result. Also, the FDA says no rule specifically bans MMA in cosmetics, so it can still turn up in some products.
Thick Acrylics
Thick sets just take longer. Make sure you filed off the shine first. Then re-wrap or soak again. If it hurts, stop and soak longer.
Signs of an Allergic Reaction
Some people are allergic to acrylates. Watch for burning when the nails were applied, then swelling, redness or darkening of the skin, itching, and peeling. If this sounds like you, stop wearing acrylics and talk to a doctor. You can also report the reaction to the FDA.
When to See a Doctor or Pro
Get help if you notice:
- Pus, swelling, or spreading redness
- Pain
- A nail lifting off the nail bed
- A green spot under a lifting nail
That green color is most often a bacterial infection called Pseudomonas aeruginosa. It can happen when water gets trapped between the artificial nail and your natural nail. It is not mold. See a doctor. Please don’t try home remedies.
Healthline also suggests a salon if your set is fresh or very thick, or if past removals already damaged your nails. The American Academy of Dermatology has more on protecting your nails.
Nail Recovery and Essential Aftercare
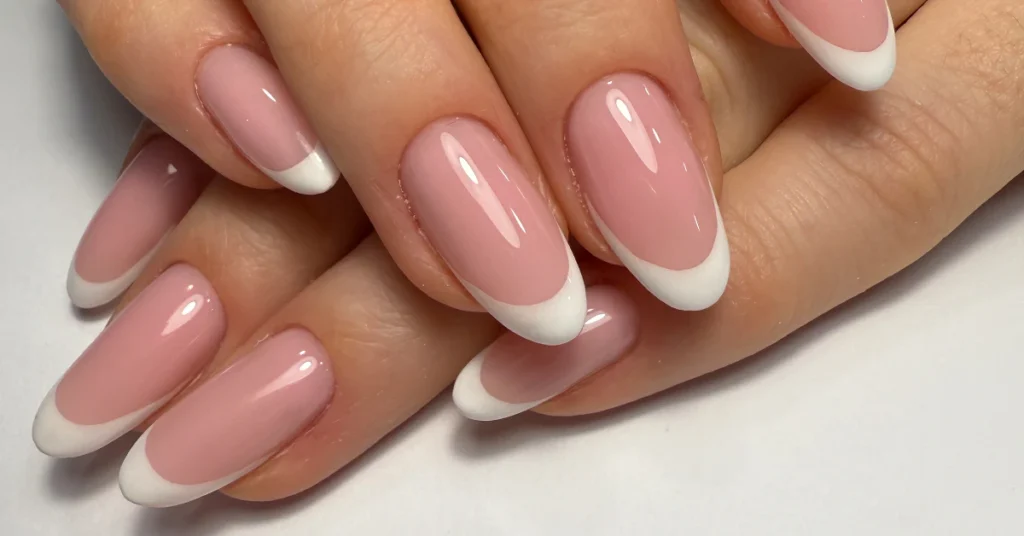
Once the last bit of acrylic came off, my nails looked thin and rough, and my fingertips felt dry. That’s normal. What you do next matters a lot.
Right After Removal
Follow these steps:
- Wash your hands with soap and warm water to remove any leftover acetone.
- Rub cuticle oil on your nails and the skin around them.
- Finish with a thick hand cream.
Any product that adds moisture back will help. You don’t need a fancy formula.
For extra care, try this at bedtime. Apply cuticle oil and hand cream, add a thin layer of petroleum jelly on top, then slip on cotton gloves. It seals the moisture in overnight.
Give Your Nails Time
Be patient with your nails. According to the American Academy of Dermatology, it takes about six months for fingernails to grow out fully. Any damage from filing or removal can take that long to grow out.
The AAD also says time without artificial nails gives your nails a chance to repair themselves. They suggest saving artificial nails for special occasions. Healthline suggests letting your nails rest for a couple of weeks before putting on new enhancements.
I now take real breaks between sets. My nails stay stronger, and I’m not stuck in a cycle of covering up damage. Keep applying oil and cream often while they recover. You can read more in the AAD’s artificial nail tips.
FAQ’s
How long does it take to remove acrylic nails at home?
Plan on about an hour. Some sets take less, but thick ones can take longer. Rushing leads to prying, so go slow.
Can I use regular nail polish remover?
No. Use 100% pure acetone. Regular removers can have additives, and the amount of acetone varies by brand.
Should I trim my cuticles after removal?
No. The AAD says to skip cuticle trimming. Cuticles help protect your nails and skin from infection, and your nails are already stressed.
How long until my nails feel normal again?
About six months for a fingernail to grow out, according to the AAD. Keep using cuticle oil and hand cream while they recover.
Final Thoughts
Taking acrylics off at home is doable, but patience is the secret. I learned that the slow way. File off the shine, protect your skin, soak in 100% pure acetone, and never pry.
Stay safe with acetone. Keep it away from flames and heat, ventilate the room, and keep it away from kids. If something feels wrong, like pus, swelling, pain, or a green spot, see a doctor. A salon is always a smart choice if you feel unsure.
Be kind to your nails afterward. They will thank you.