
Vacuum the seats first to pull out loose dirt. Pick a cleaner that matches your seat, one kind for fabric and another for leather. Keep the seat damp at most, never soaked. Test any cleaner on a hidden spot before you use it on the whole seat.
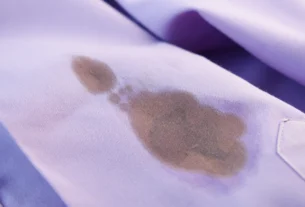
I learned this the hard way after buying a used car with a mystery stain on the back seat. I grabbed a wet rag and scrubbed. The stain spread, and the seat stayed damp for hours.
Since then, I treat cleaning car seats as a slow, gentle job. This guide shows how to clean car seats in a way that matches your seat material. I lean on car maker manuals and other trusted sources, so you are not guessing with chemicals. Whether you have cloth or leather, the steps stay simple. Here is the safe way to do it.
Critical Safety & Chemical Warnings Before You Start
Read this part before you open a single bottle.
Never mix bleach with vinegar, lemon juice, ammonia, or any acid-based cleaner. The mix can release toxic gas. Use one product at a time, read the label, keep the doors open for fresh air, and rinse before trying anything else.
Here is why this matters:
- Bleach plus vinegar or any acid makes chlorine gas.
- Bleach plus ammonia makes chloramine gas.
Both gases can hurt your eyes, skin, and lungs. The Alabama Department of Public Health warns against mixing household chemicals for this reason.
This is easy to do by accident. A popular cloth-seat recipe uses vinegar. If you already wiped a spot with a bleach wipe, do not follow it with vinegar. Wear gloves too.
Watch Out for Side Airbags
Some seats have airbags built into the sides. Polestar’s manual says to never spray cleaner directly on the sides of seats with side airbags. Wipe them with a cloth that is only lightly damp with cleaner instead. Keep the bottle away from those seat sides and put the cleaner on the cloth.
That warning comes from Polestar, so it is brand-specific. Other makers may word it differently. Check your own owner’s manual for your car.
What Automaker Manuals Actually Say
Before you buy a “best car seat cleaner,” see what the people who built your seats say. I checked three automakers. Here is what they tell owners.
| Automaker | Leather seats | Fabric and other seats |
| Kia | Use neutral or low-alcohol cleaners. Strong alcohol or acid and alkaline cleaners can fade color or strip the surface. | Vacuum often. Treat fresh spots right away. Cleaners the maker does not recommend can change how the fabric looks and affect its fire-resistant properties. |
| Nissan | For genuine leather and models before 2015, use gentle cleaners like soap and water with a microfiber cloth. | Avoid bleach, ammonia, and hydrogen peroxide. Test for colorfastness first. |
| Polestar | Do not use a steam cleaner on leather. | Do not use leather products on MicroTech fabric. Spot-only cleaning can leave water rings. |
Not every guide agrees with these. Nissan’s own 2020 page says rubbing alcohol on a cotton ball can lift leather stains. The same page tells owners of some older models to avoid alcohol-based cleaners. Sellers of steam cleaners call steam safe on leather, but Polestar says no. Kia warns that strong alcohol can fade leather.
When guides clash, I trust the manual. You can read Kia’s owner’s manual online to see how plain these rules are. Find the interior care page in your own manual, then check any cleaner’s label against it.
These tips are brand-specific, so your car may differ. If your manual says nothing, test a hidden spot first.
How to Clean Cloth and Fabric Car Seats
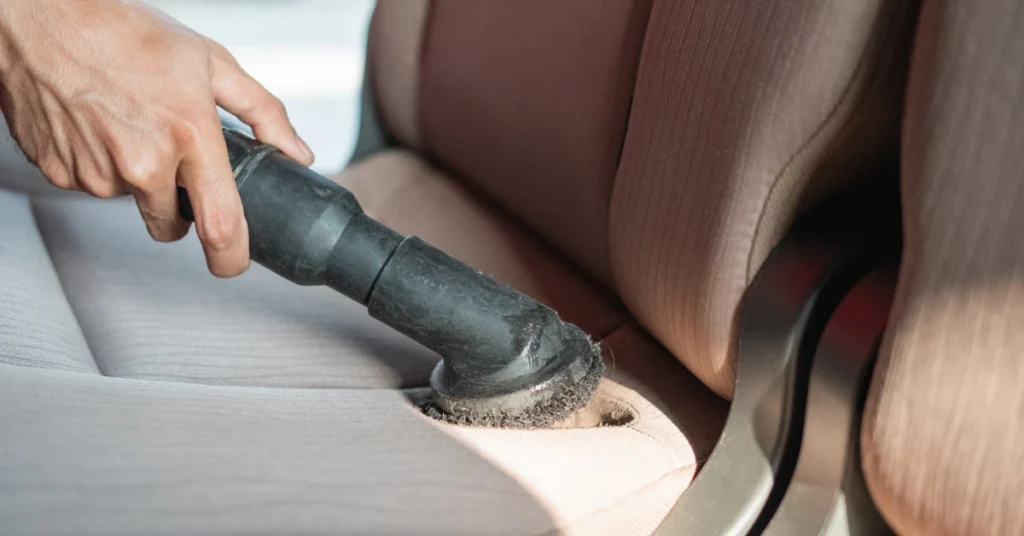
Cloth seats soak up spills like a sponge, so they need a light touch. Here is the routine I follow.
- Vacuum first. Start at the top and work down. Use a crevice tool in the seams. Dry dirt turns to mud once it gets wet.
- Act fast on fresh spots. Kia’s manual says fresh spots should be treated right away, or the fabric can stain. Blot the spill. Do not rub it.
- Test a hidden spot. Dab your cleaner low on the seat back. Let it dry, then check the color.
- Choose an upholstery cleaner. Some guides suggest dish soap in water. I skip it. Bissell’s chemists say soap left on a seat can turn sticky and attract dust. Use a cleaner made for car upholstery and follow the label.
- Spray lightly. The fabric should be damp, not drenched. Keep spray off the sides of seats with side airbags.
- Brush and blot. Scrub gently with a soft brush. Then blot with a clean microfiber cloth. A portable upholstery cleaner can pull the dirty liquid out if you own one.
Why stains come back
Detailers call this wicking. A spill soaks deep into the foam. As the seat dries, the stain climbs back to the surface, like water up a candle wick. Cleaning only the top does not remove it. If a stain returns, clean it again with a light spray.
Why water rings show up
Chemical Guys says rings form when minerals from tap water and leftover soap travel to the surface as the seat dries. Polestar’s manual also warns that cleaning only one spot can leave a ring.
Here is how I prevent them:
- Clean the whole seat panel, from seam to seam.
- Rinse with distilled water, which Chemical Guys recommends. This is a brand tip, not a car maker rule.
- Blot with a dry microfiber cloth.
Drying time
Open the windows. Bissell says seats should be dry in 4 to 6 hours with its extractor method. Your time may differ. Do not sit on the seat until it is fully dry.
How to Clean Leather and Faux Leather Seats
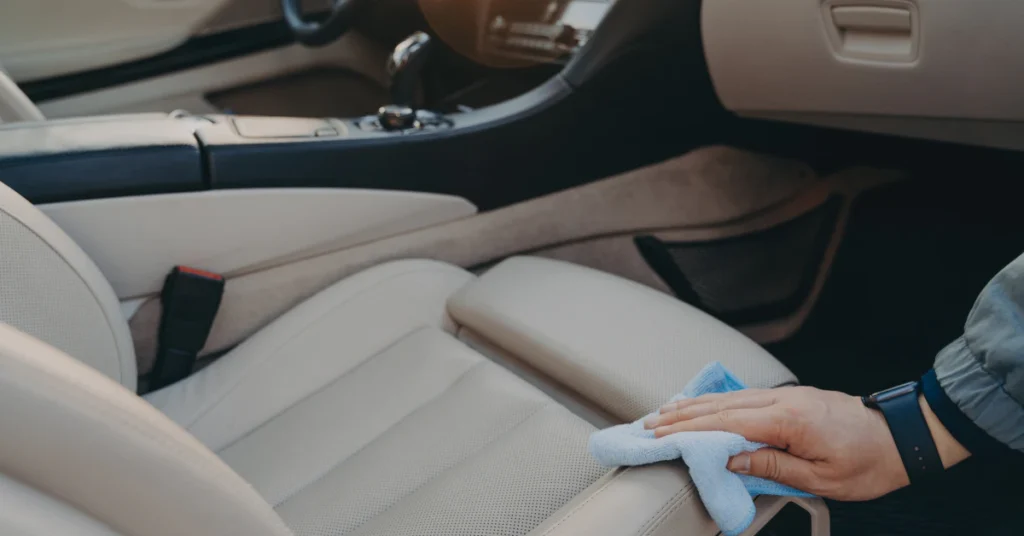
Leather looks tough, but harsh cleaning ruins it fast. I keep my method gentle.
What to skip
- Steam. Polestar’s manual says not to use a steam cleaner on leather.
- Strong alcohol and harsh cleaners. Kia warns that high-alcohol, acid, or alkaline cleaners can fade the color or strip the surface.
These tips come from Kia and Polestar, so check your own manual too.
Cleaning Steps
- Vacuum first. Use firm pressure, but go slow. Bissell warns that grit can scratch leather.
- Pick a gentle cleaner. Use a leather-safe cleaner, or a neutral one that your manual allows. For faux leather, Nissan says mild soap and water works, because most car leather and imitation leather has a protective coating.
- Test a hidden spot. Try the cleaner low on the seat, then check the color.
- Put cleaner on the cloth. Use a clean microfiber cloth with only a little cleaner on it. Do not spray the seat. Seats with side airbags need extra care, so wipe the sides only lightly.
- Wipe in soft circles. Polestar says to use gentle circular motions, and never scrape or rub hard.
- Wipe the whole panel. Polestar warns that cleaning only a spot can leave water rings. I clean from seam to seam so the shine stays even.
- Let it dry fully. Polestar says to let the leather dry before any other treatment.
Conditioning and How Often
Conditioner helps keep leather soft. Bissell says to condition after cleaning to keep seats supple. My leather feels softer and less dry when I do this, and I think it helps prevent cracks.
Here is how often brands suggest cleaning:
| Task | How often |
| Light cleaning | Every 2 to 4 weeks |
| Deep clean and condition | Every 2 to 3 months |
Autofinesse gives the light and deep timing, and Bissell also says every 2 to 3 months. These are brand tips, not car maker rules, so your manual comes first. Do not use leather products on MicroTech fabric.
Handling Perforated, Ventilated, and Alcantara Seats
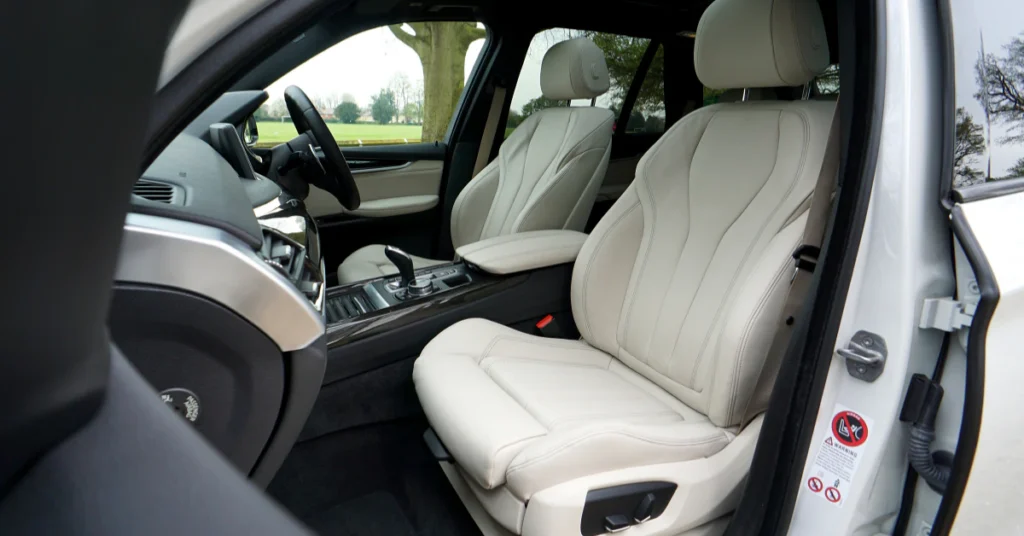
Seats with tiny holes need more care than smooth ones. The holes let air move through the seat, and some cars use them for cooling. Foam sits under the leather. Liquid that runs into the holes can soak in where you cannot wipe it dry.
One forum owner warns that oily products might clog the foam under cooled seats. No car maker I checked confirms that. I keep liquid out of the holes either way.
Here is the method I follow, based on Capital One’s guide:
- Vacuum well. Crumbs hide in the holes.
- Use compressed air if needed. Keep the nozzle away from the leather so it does not scratch. Vacuum again after.
- Skip the spray. Put leather cleaner on a soft brush or a bamboo pad, not on the seat.
- Work it in lightly. Rub the cleaner into the holes with gentle pressure.
- Wipe clean. Use a dry microfiber cloth.
Capital One suggests a foaming leather cleaner made for car seats. It also suggests a leather conditioner at the end. Follow the label on whatever you buy.
Test a hidden spot first. Ventilated seats differ by car, so check your manual too.
Alcantara and MicroTech Seats
These look like suede, but they are not leather. Polestar’s manual says not to use products made for leather on MicroTech. That means no leather conditioner on these seats.
For MicroTech, Polestar says to use a clean microfiber cloth lightly dampened with water or a colorless, mild cleaner. Wipe in gentle circles. If that does not work, Polestar tells owners to contact its support for approved products.
That advice is for Polestar’s own fabric. I could not confirm a maker guide for Alcantara, so check your manual or Alcantara’s care guide before using any cleaner.
Troubleshooting Deep Stains, Odors, and Mold
Some messes need more than soap and a cloth. Here is how I handle the two worst ones.
Sour Milk, Vomit, and Pet Smells
These smells come from proteins that soak deep into the seat. Wiping the top does not remove the source.
Detail King, a car care retailer, says enzyme cleaners break down the proteins and fats in milk. That is the cause of the sour smell. Here is the method it describes:
- Blot, do not rub. Rubbing pushes the mess deeper into the fabric. Press a towel on the spot and swap towels as they fill up.
- Toss the dirty towels outside the car. Leaving them inside makes the smell worse.
- Apply an enzyme cleaner. Follow the label, and test a hidden spot first.
- Rinse with clean water. This removes leftover cleaner.
- Check the seams and cracks. Moisture likes to hide there.
If a smell lingers, a detailer can treat it with an ozone generator. I would not try that myself.
Detail King is a seller, so treat this as a method, not a car maker rule. Check the cleaner’s label for your seat material.
Mold on Fabric Seats
Mold needs moisture. If a seat stayed wet, mold may follow.
The EPA guidance, summarized by NEHA, is written for homes, but it is the best trusted rule I found. Here is what it says:
- Routine bleach use for mold is not recommended.
- Bleach works best on hard, nonporous surfaces. It is less effective on porous materials like fabric.
- Dry water-damaged materials within 24 to 48 hours.
- Porous items that stay wet should be thrown out.
- If mold covers more than 10 square feet, EPA recommends hiring a professional.
A car seat is much smaller than 10 square feet, but the point stands. If the mold is widespread, or if anyone in your family has asthma or allergies, I would call a pro.
If you ever use bleach anyway, remember the warning from earlier:
Never mix bleach with vinegar, lemon juice, ammonia, or any acid-based cleaner. The mix can release toxic gas. Use one product at a time, read the label, keep the doors open for fresh air, and rinse before trying anything else.
Open the windows and let the seat air out. If it stays wet or smells musty after drying, the foam may be the problem.
How to Clean a Child’s Car Seat (The Rules Are Different)
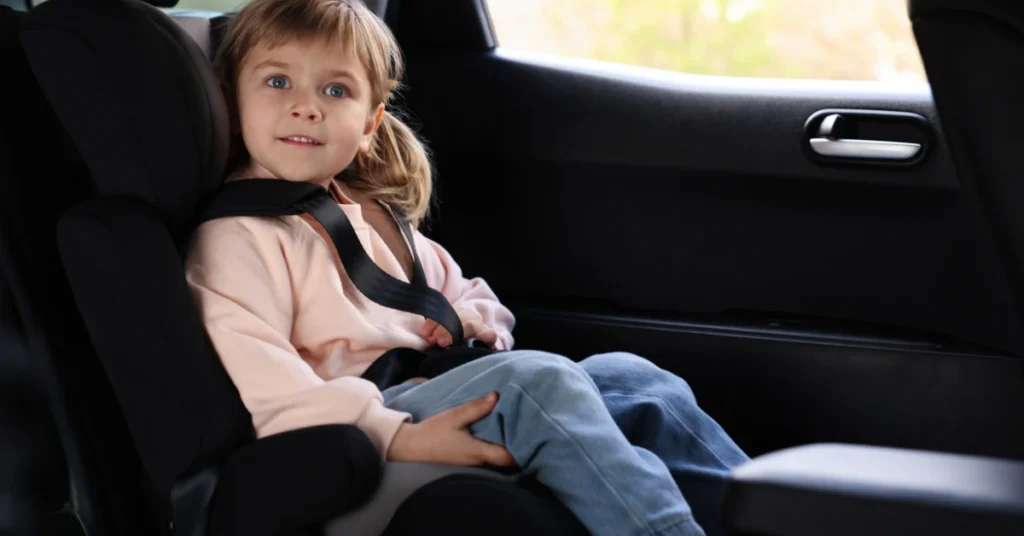
If you searched this because of a baby or toddler seat, stop. The car upholstery tips above do not apply here. A child seat has to hold up in a crash, so the cleaning rules are stricter.
Use mild soap and water only. Graco says to use only mild soap and water on the straps and other parts. Graco also says not to use these:
- Bleach
- Fabric softener
- Sanitizing sprays or disinfectants
- Abrasive scrubbers or harsh cleaners
A Consumer Reports engineer gave the same warning in 2020. Cleaners that could harm a seat part are not worth the risk.
Harness Straps and Buckles
The straps are the most delicate part, so go slow:
- Spot clean only. Britax says to use warm water and mild soap on the straps.
- Do not soak the straps. Graco says not to soak the harness or the LATCH straps. Britax says soaking or harsh soaps may weaken the fibers.
- Never use a washing machine on the harness. Britax also says not to iron or bleach the webbing.
- Leave the buckle dry. Britax says not to soak the buckle or use soap, detergents, solvents, or lubricants on it.
- Replace worn straps. Britax says frayed or heavily soiled straps should be replaced.
The Cover and Drying
Follow the care label on your seat’s cover. Britax notes that many covers should only be hand washed in cold water with mild soap. Graco says the seat pad and straps should air dry for at least 24 hours in most cases.
Rules differ by brand, so your seat’s manual always comes first.
Frequently Asked Questions
Can I use dish soap on car seats?
Generally, no. Bissell’s chemists say soap left on a seat can turn sticky and attract dust. A cleaner made for car upholstery is the safer pick. Follow its label.
Is vinegar safe on car seats?
Some guides suggest it for cloth, but I found no car maker that backs it. Kia warns that acid or alkaline cleaners can fade leather, so I skip vinegar on leather unless my manual allows it. Never mix it with bleach, because the mix can release toxic gas.
How long do seats take to dry?
Bissell says about 4 to 6 hours with the windows open, using its extractor method. Your time may be longer if the seat got very wet. Do not sit on it until it is fully dry.
Can I use rubbing alcohol on leather?
I would check my manual first. Kia warns that strong alcohol can fade leather or strip the surface. Nissan tells owners of some older models to avoid alcohol-based cleaners. Guides that call alcohol a quick fix often leave those warnings out.
Can I use these tips on my child’s car seat?
No. Use mild soap and water only, as Graco and Britax advise. Skip bleach and disinfectant sprays. Never put the harness in a washing machine, and do not soak the harness or buckle.
Conclusion
Cleaning car seats gets easier when you slow down. I vacuum first, match the cleaner to the seat, keep things damp instead of soaked, and test a hidden spot. When I am unsure, I open the owner’s manual before I open a bottle. That habit has saved my seats more than any product has. Pick your seat type from the guide above, take your time, and let the seats dry fully before you drive.