
To remove water stains from wood, first check the color. A white or cloudy ring means moisture is trapped in the finish, and it is usually fixable at home. A dark or black mark means the wood itself is damaged, and it needs a stronger fix. Start gentle and test a hidden spot first.
I still remember lifting the last glass after a party and spotting a cloudy white circle on my own coffee table. My stomach dropped. I thought the table was ruined. It was not. Once I learned what that mark really was, I calmed down and fixed it step by step.
Here is the good news. Most white rings are a surface problem, and they are very fixable. In this guide, I will walk you through the fixes in order, from gentle to strong, so you can remove a white ring from your table without harming the finish.
Triage: Is It a White Ring or a Dark Stain?
Before I touch a stain, I look at its color. That one detail tells me almost everything.
A white or cloudy ring means water got trapped inside the clear finish. The wood underneath is fine. Wood finishing expert Bruce Johnson, a spokesperson for Minwax, calls this a sign of a weak finish. The finish has worn down enough to let moisture in, and then it holds that moisture like a tiny cloud.
A dark or black mark is a different story. The water got past the finish and soaked into the wood itself. It discolored the wood fibers. Surface tricks will not fix that.
Time matters too. Success depends on how long the moisture has been locked in. A fresh ring is much easier than one that has sat for months.
So slow down and look first:
- Check the mark in bright, natural light.
- Ask yourself: is it white and hazy, or dark and brown or black?
- Notice if the ring sits on top of the finish or looks like it is inside the wood.
Take a minute here. The right fix depends on this answer.
The Safest Starting Points (Heat Methods)
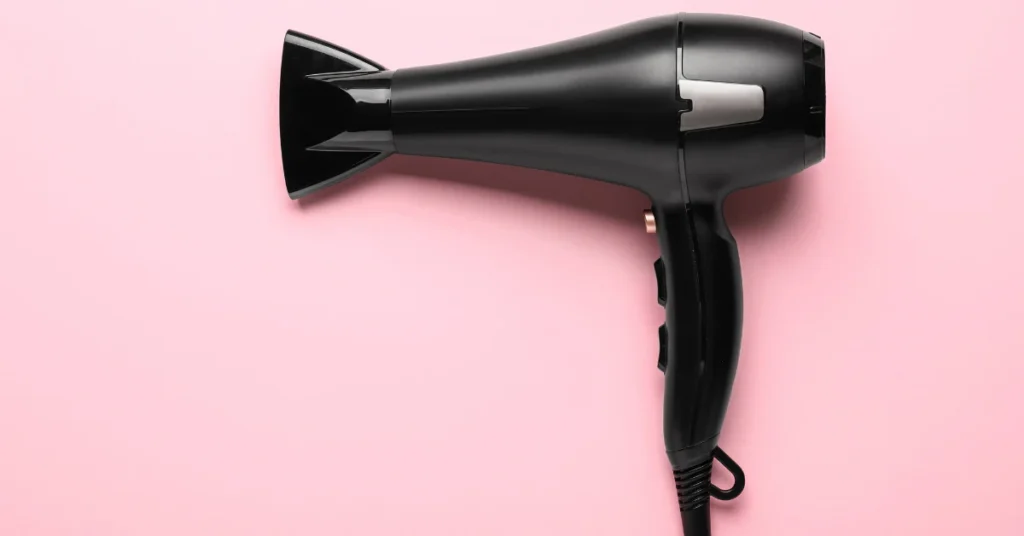
When I find a white ring, I always reach for heat first. Heat is gentle, it costs nothing, and it helps the trapped moisture escape. The two tools I trust most are a hair dryer and a clothes iron. Start with the dryer.
The Hair Dryer
- Set the dryer to warm or low.
- Hold it over the ring and move it back and forth. Never park it in one spot.
- Keep going for about 10 minutes, checking as you go. Bob Vila’s team suggests this same 10-minute approach.
- Let the wood cool, then look at the ring.
Here is a wax warning. Heat can slightly melt a wax finish. If your table is waxed, keep the dryer moving and buff the area with a soft rag afterward.
Also, skip the furniture polish for now. Putting polish or wax on a white mark only traps the moisture.
The Clothes Iron
If the dryer did not finish the job, the iron is my next move. It works, but it needs strict rules. Follow every one.
- Empty all the water out of the iron.
- Set it to the lowest heat. Make sure the steam is off. No steam, ever.
- Lay a plain cotton cloth over the ring. Choose a cloth with no print and no design.
- Press the iron on the cloth for just a few seconds.
- Lift the iron and the cloth. Check the ring.
- Repeat in short bursts until the white fades.
Here is why the cloth matters. Printed or decorated fabric can transfer text or images onto the wood. That would swap one problem for a worse one. A plain white cotton napkin or tea towel is perfect.
Do not let the iron sit still. Check the spot every few seconds. Iron settings are different from one brand to the next, so start at the lowest setting and go slowly.
If the ring is still there, do not worry. I have gentle backup options coming next.
Household Hacks That Actually Work (And Which to Avoid)
If heat did not finish the job, I move to the pantry and bathroom. Two famous hacks are mayonnaise and toothpaste. They can work, but each has rules.
Mayonnaise
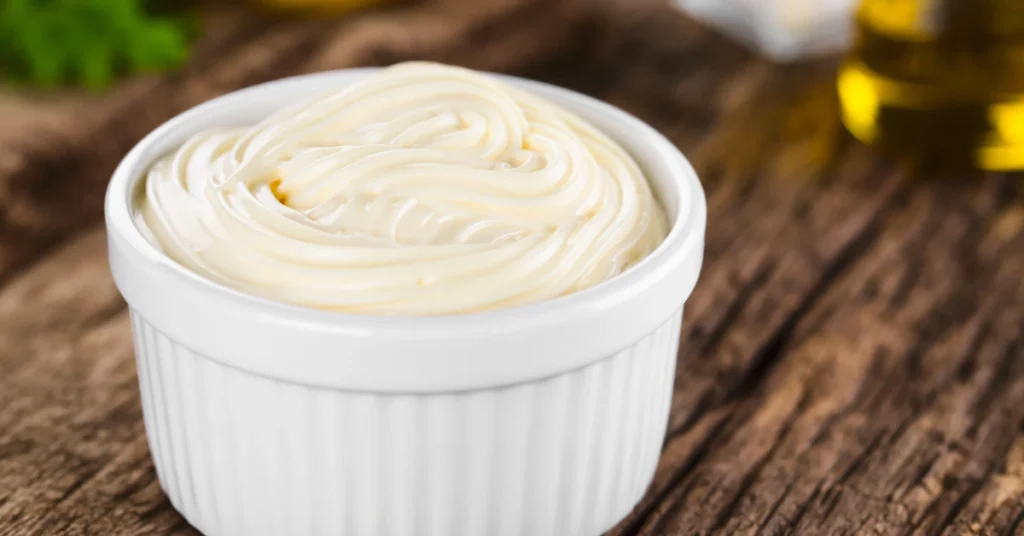
The idea is simple. The oil in mayo seeps into the finish and helps push the trapped moisture out. Bob Vila’s team says full-fat mayo works best.
- Dab a little full-fat mayo on a soft, clean cloth.
- Cover the whole ring with it.
- Let it sit for a few hours. For a tougher ring, leave it overnight.
- Wipe it off with a fresh cloth and check the spot.
In one home test reported by Houzz, a tester left mayo on a months-old ring for about three hours. He wiped it away with no scrubbing, and the mark came out.
Important warning: Never use mayo or any oil on raw, unvarnished, or untreated wood. Oil will stain wood that has no finish on it. You would trade a water stain for an oil stain. Mayo is only for wood with a sealed finish.
Toothpaste
Toothpaste works a bit differently. It does not pull out water. It acts as a very mild scrub that polishes the cloudy spot.
- Use plain white toothpaste only.
- Skip gel toothpaste. Skip anything labeled whitening. Both are too harsh and can ruin the finish.
Here is how to do it:
- Put a small dab on a clean, dry cloth.
- Rub it gently into the ring for a minute or two.
- Stay inside the stain. Rubbing too hard or too far outside the ring can wear down the finish around it.
- Wipe clean with a damp cloth and dry the spot well.
Test a hidden spot first, such as the underside of the table.
What to Skip
- Hard scrubbing. More pressure means more finish damage.
- Furniture polish or wax on a white ring. It traps the moisture instead of letting it out.
- Baking soda as your main plan. The same tester found it lightened the stain, but not as well as toothpaste. It is only worth a try on a fresh ring.
Be patient. If one method does not work, stop and try the next gentle one. Piling several tricks onto one spot is how a small problem becomes a big one.
The Expert Escalation Path (When Gentle Methods Fail)
Sometimes a ring just will not quit. When that happens, I do not pile on random tricks. I follow a clear order, from mild to firm.
Option A: A Purpose-Made Ring Remover
Some products are made for this exact job. Two I found in my research are Liberon Ring Remover and Guardsman Deep Clean. Both are brand-specific products, so follow the directions on the label.
Here is the catch. Bob Vila’s team notes that products like these are not 100 percent effective and can cause extra damage to a finish. Test a hidden spot first. Do not skip that step.
Option B: 4/0 Steel Wool and Finishing Oil
If the ring is still there, this is the next step an expert uses. Minwax spokesperson Bruce Johnson uses super fine 4/0 steel wool for white rings that will not respond to a hair dryer.
- Pour a little finishing oil right on the stain. Johnson names Minwax Antique Oil. That is a brand-specific pick, so match it to your own finish.
- Rub very lightly with the 4/0 steel wool. Always rub with the grain.
- Wipe the oil off with a towel.
- Apply the finishing oil again over the whole tabletop and wipe it to polish it evenly.
Use a light touch. The goal is to ease the ring out, not to scrub the table.
The Final Step: Seal It
Once the ring is gone, do not stop. Johnson says to wipe off the oil and then put on a clear finish so the ring does not come right back. A weak finish is what let the water in, so this step protects your repair.
Tackling Dark Stains: The Oxalic Acid Method
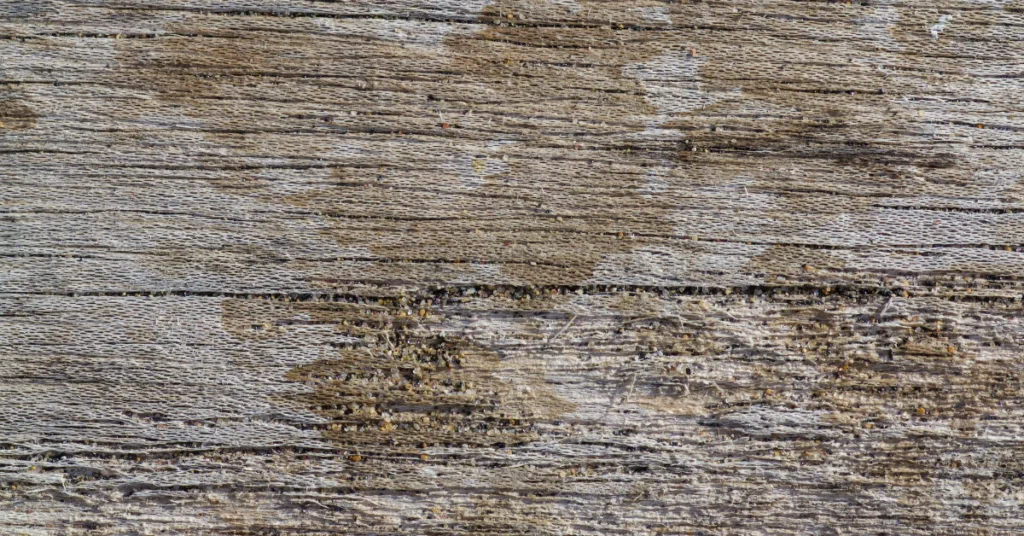
Here is the hard truth about black water stains. The hacks from earlier will not work on them. Heat, mayo, and toothpaste only help when moisture is trapped in the finish. A dark stain is inside the wood.
For this job, I turn to oxalic acid. Woodworkers often call it wood bleach. It comes as crystals that you dissolve in water. According to Popular Woodworking, it removes black water stains without changing the color of the wood.
Safety First
Oxalic acid is a strong chemical. The CDC’s NIOSH guide lists irritation of the eyes, skin, and airways, and it warns that it can burn the eyes and skin.
- Wear gloves, goggles, and a dust mask.
- Keep children and pets out of the room.
- Never swallow it.
- Do not breathe in the dust.
The Process
- Strip the finish. The acid cannot reach the stain through a finish or wax. Take the surface down to bare wood first.
- Mix the solution. Dissolve the crystals in very hot water until no more will dissolve. Extra crystals will just sink to the bottom.
- Brush it on. Apply the solution while it is still hot. Cover the entire surface, not only the stain.
- Let it dry. The solution dries back into crystals.
- Wash it off. Use a well-soaked sponge or cloth. Do not brush the crystals into the air, since breathing them will make you cough.
- Rinse several times. Washing well removes the crystals and neutralizes the acid in the wood.
A second or third round can help with a stubborn stain. If a faint light brown mark is left, it is usually shallow and sands out easily.
Neutralize With Water, Not Vinegar
Some old advice says to neutralize with vinegar. That is wrong. Vinegar is also an acid, and you do not neutralize an acid with another acid. Use a plain water rinse.
A Strict Chemical Warning
Never mix household bleach with vinegar or ammonia. Bleach and vinegar make toxic chlorine gas. Bleach and ammonia make toxic chloramine gas. NIOSH also notes that oxalic acid can react violently with sodium hypochlorite, which is the active ingredient in household bleach. I skip household bleach entirely for this job. Use oxalic acid by itself.
One last tip. If your table has a thin veneer top, sanding down to bare wood is risky. Test a hidden spot, or ask a furniture refinisher.
Finish-Specific Chemistry: Knowing Your Wood
The finish on your furniture decides which fix is safe. A method that works on one finish can wreck another. That is why I always test before I treat.
How I Test the Finish
Pick a hidden spot, like the underside of the table or the back of a leg.
- Water-drop test. Put one drop of water on the surface. If it beads up, you likely have a sealed film like varnish or polyurethane. If it soaks in or darkens the wood, it may be an oil finish.
- Solvent test. Dab a little solvent in the same hidden spot. Lacquer dissolves in lacquer thinner, fingernail polish remover, and sometimes alcohol. Shellac dissolves in denatured alcohol. Varnish usually holds out much longer.
Work in a well-ventilated room. Keep solvents away from flames.
Why It Matters
According to Woodworker’s Journal, most lacquers can be re-dissolved, but varnishes cannot. A solvent can re-wet a lacquer finish and let the trapped moisture escape. Then the lacquer hardens again.
While the solvent is working, the finish is nearly liquid. Do not rub it or touch it. An aerosol called Blush Eraser is made for lacquer-type finishes. It is a brand-specific product, so follow the label.
The Denatured Alcohol Wipe
A gentler option is a rag dampened with denatured alcohol. Wipe it very gently over the ring.
Warning: Go easy. Too much alcohol can draw more water into the finish and make the problem worse. The rag should be damp, not wet.
If your finish is varnish, solvents will not help much. Stick with heat and the gentle methods above.
Test every product in a hidden spot first, every time.
What Not to Do: Common Mistakes That Make It Worse
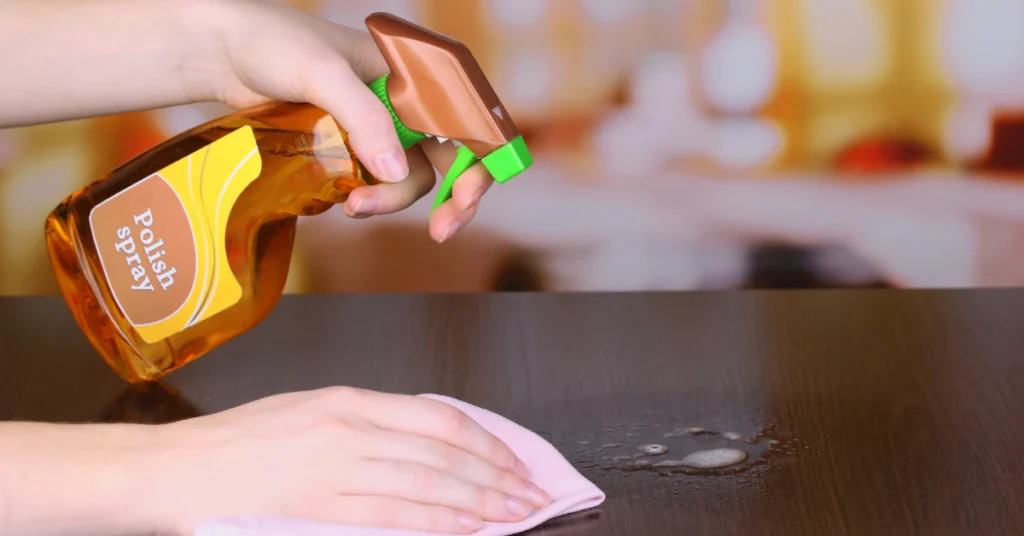
A small ring can turn into a big repair job fast. Most of the damage I see comes from a few avoidable mistakes. Here is what to skip.
- Do not pour furniture polish or wax on a white mark. It feels like the right move, but it only traps the moisture inside the finish. Bruce Johnson, the Minwax expert quoted by Houzz, says to leave the mark alone and let the moisture escape.
- Do not use silicone furniture polish to buff it out. One reader in a Woodworker’s Journal Q&A said it made his water marks look worse.
- Do not spray polyurethane over a damaged spot. One reader on the Wood Whisperer site tried it and ended up with sticky sludge and scratches. That is one person’s story, but it is a good warning. Fix the ring first, then add a finish the right way.
- Do not scrub hard. More pressure only wears down the finish.
- Do not use printed cloth with the iron. The print can transfer onto the wood.
- Do not soak the spot with alcohol. Too much can draw water into the finish.
One Fire Hazard to Ignore
Some online comments say to light denatured alcohol on fire to burn off a white ring. Please do not do this. It is a serious fire hazard, and it can ruin your table. No fix is worth that risk.
When in doubt, stop and test a hidden spot.
Conclusion
Most water stains look scarier than they are. When I fixed my own coffee table, patience did more than any trick. I went slowly, started gentle, and checked often. You can do the same.
Prevention is simple. Use coasters and placemats, and wipe up spills fast. If you ever refinish the piece, choose a finish that fights water. Bob Vila’s team notes that polyurethane and lacquer resist water stains best.
Now you know what to look for and what to avoid. Your table is not ruined.
FAQ’s
Will these methods work on my antique or Amish-made furniture?
It depends on the finish, not the maker. I found no source that treats Amish pieces differently. Start with the gentlest method, the hair dryer, and test a hidden spot first. If the piece is a valuable antique, I would ask a furniture refinisher before trying anything stronger.
What if I make the stain worse?
Stop right away. Do not add more products or more heat. Most damage comes from too much pressure, too much heat, or wax and polish on a white ring. If the mark will not budge after a few gentle tries, move to the escalation steps or call a refinisher.
How can I tell if my furniture has a wax or oil finish?
Try the water-drop test in a hidden spot. If the drop beads up, you likely have a sealed film like varnish or polyurethane. If it soaks in or darkens the wood, it may be an oil finish. Remember that heat can slightly melt a wax finish, so keep the hair dryer moving.
Can I remove an old white ring, or only a fresh one?
Fresh rings are easier. Success depends on how long the moisture has been locked in. In one home test reported by Houzz, rings that were several months old still came out with toothpaste, mayo, and baking soda. There is no guarantee, so start gentle.
Do these fixes work on veneer?
The white ring methods are gentle surface fixes, but test a hidden spot first. Veneer is a thin layer of wood, and Popular Woodworking notes that sanding out stains on veneer is impossible. That makes dark stains on veneer a job for a refinisher.
Will the ring come back after I fix it?
It can. A white ring shows the finish is weak. Once the ring is gone, add a clear finish so moisture does not get in again, and use coasters.